Why no blogs lately? Well, I had a bug problem in my house, and it actually took a slight amount of destruction to root out the cause and eliminate their food source, between Sunday and Monday night, working until past midnight each night. Tuesday I finally got out of the house with my wife to see Deadpool (I loved it) and went to bed early, considering my past two nights. So I didn't get any building done.
BUT!
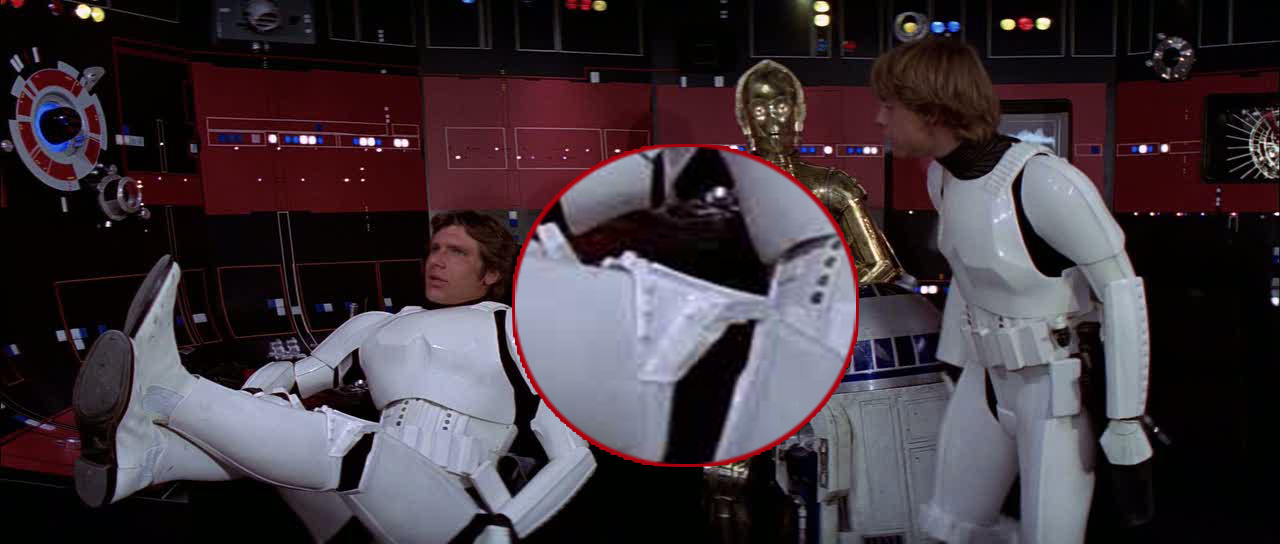
I've received more than a few requests regarding the sniper knee on the left shin - apparently I've become something of a shin-obi <RIMSHOT>. How does it go on? Why does it look better on the right shin? How can I secure it?
The simple answer is that you need some "gentle persuasion" (read: CLAMP THE HELL OUT OF IT) and
at least three clamps (more won't hurt). You may also need to trim the right edge of the knee pad (as it's worn on the shin; that is, the side facing the body's center line).
Here are some pictures from a previous post,
Sexy Knee and Shapely Thighs:
So here's the trick tot the sniper knee: according to the 501st CRLs (which are a good reference even if you're not going for approval) the knee plate should follow the contours of the shin piece and not use any rivets if possible.
The trick here is to measure twice, cut once (if necessary, and it probably will be on the aforementioned side), and glue in place. To measure properly, though, clamp the pad in place AS IF you were going to glue it. The reason why is that this piece is going to need flexing to get in place, which pushes the edges of the guard out. If there's any overhang, you'll want to ensure you cut off the correct amount instead of having to worry about it after the piece is glued in place.
Speaking of flexing, for the interior corners of the knee plate, round them out. DO NOT leave any sharp angles; they're very prone to forming cracks over time (especially since the piece will be flexed into place), meaning that at the least you'll probably have to repair them with ABS paste; at worst, you'll have to find a new knee plate.
You could also try a hot water bath to help shape the piece to proper fit; I've never done this, but I know that
USKWrath has done so with some of his pieces.
Once you have the piece measured and cut, mark the places on the shin where the edges of the plate make contact. Then, scuff the points just short of those marks with sanding paper; also, scuff the top of the center strip at the knee. Scuff the interior of the knee plate at the same points. Put down some E6000 on the scuffed shin.
Then, clamp the edges, then center, of the knee pad in place. This will require some back-and-forth between clamps so that you can match the contour of the shin as best as possible while getting the center of the pad to make as much contact with the shin as possible. You'll probably have a gap on the bottom of the pad between the pad and shin, but try to keep it minimal (a small gap, BTW, is screen accurate :P)
Update: here's
a method used by Josh Silverback Hopkins using 7 (!) clamps. Note how he also uses a clamp to keep the shin closed while cementing the knee plate, in order to make the job easier. Two clamps on each side of the center of the plate, and two on each edge.
The results are fantastic.
Sniper knee aside...
With me getting ready for fitting, and my Anovos soft parts not yet shipped, I decided to take it upon myself to get something that would pass for an undersuit.
I tried a few department stores (Costco, Target, WalMart), but nobody had any long-sleeved compression shirts in stock anymore as they're getting ready for spring and have limited shelf space. I ran out of time to get to a sporting goods store before needing to pick up my son, although a place like Dick's Sporting Goods would almost certainly have what I needed.
Therefore, I was resolved to find something online as to not waste more time pecking and pawing through brick & mortar stores.
I asked the Anovos FB Group for advice, and received several recommendations, including the
Russel Training Fit compression shirt (Walmart Supercenter),
BCG compression pants (Academy Sports), and a
FlexFit compression set (Kohl's). However, since I was cycling to work Wednesday and Thursday, going out to a store wasn't really in the cards for me, hence the online shopping, although having some brands in mind was good, and worth mentioning here to anyone also looking for solutions for a spare undersuit.
There are a lot of Under Armor fans out there. It's a little more pricey, but its advocates swear by its sturdiness. From my POV, though, understand that I need to spend money on home repair, I had to drop over $100 on TK Boots, and I'd still like to pick up some parts for my Disney Parks E-11 blaster that will need to come from England (~$40). Right now, I just need a suit that will do for fitting and light trooping, so I'll consider Under Armor later, especially if it's on sale :)
Ultimately, I went with something inexpensive but with good Amazon reviews:
Time to Run Men's Compression Wicking Running Top and
Time to Run Men's Compression Tights. Certainly not as fancy as Under Armor, but it will get the job done for now and isn't terribly expensive. They're also on Amazon Prime as my wife and I are members. Also on Prime were
Alaska Bear Natural Silk Thermal Glove Liners and a
Vega Vega Logo Soft Cloth Helmet Bag, which I also picked up. Previously, I also picked up this
Sterilite 40 gallon container at Target for less than $20 for armor transport - it should fit everything short of the helmet, or at least that's my hope :P
Finally, I paid for my
TK Boots last night and received shipping confirmation. I'm looking forward to seeing them and trying them on :D