Featured Post

The TKTalkie v4 - Press 6 for the Imperial March

Upgrading - the Path from v3.15 to v4.0 (Note: I had started this draft last year but never finished it, due to personal issues and cuttin...

Monday, March 14, 2016

The SoCal Garrison OC Squad Armor Party - Thighs, Abs, and Buttons

Yesterday was the armor party. And until my first big troop, it will be hard to beat this event.


More images by Wayne Kaataa:


More images by Roger Chacon:


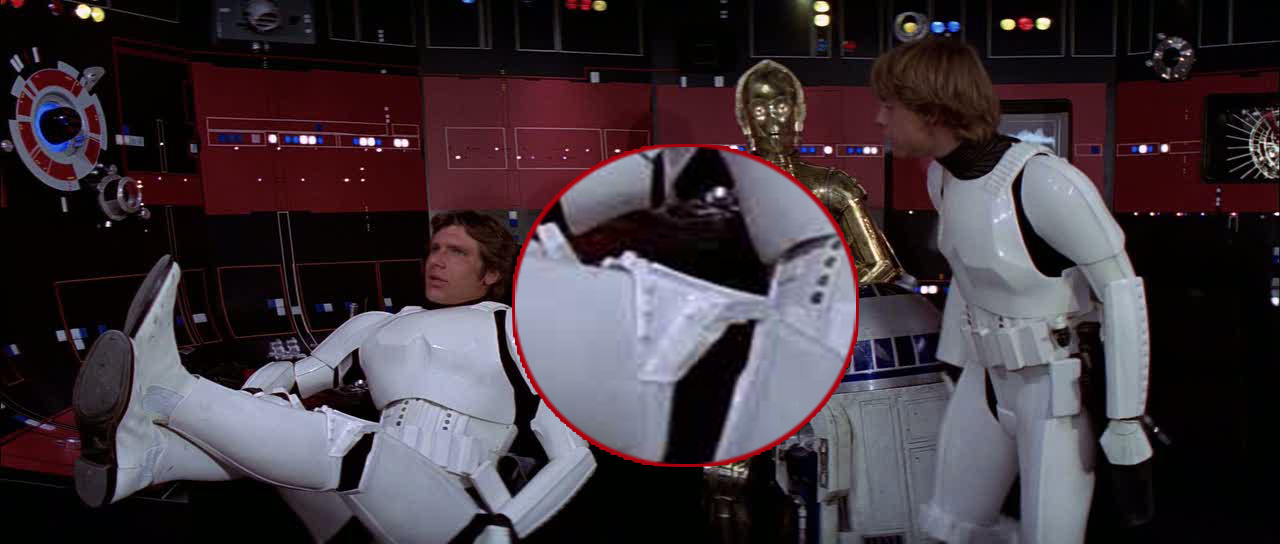
Here I am talking to a friend of mine in her Anovos TK armor:


The party was coordinated by the Orange County Squad of the Southern California Garrison. Many of them were on hand to give build advice and talk about the 501st as an organization.


It used the food court of a local large high school. with each person able to use a whole table for his or her armor projects. There was plenty of work space, power, and wisdom to go around. And a droid:


And also, belt sanders.


At one time, up to four sanders were deployed, all in use at one time or another. I took advantage of these along with several other builders, many of who were first time builders such as myself. Having completed a bit of the build myself, I had several people asking me questions about how they should assemble and trim limb pieces; I gave them what advice I had and also pointed them to this blog. It cut into my build time but worthwhile to help out fellow builders.

Edit: DO NOT trim thighs for length until the end of your build. Mistakes were made. Consider the following a cautionary tale.

Although I wasn't able to get enough done in time to start fitting, I was able to get quite a bit done towards that end. First, let's talk about thighs. After talking with future squad mates, it was decided that they needed to be trimmed down from the top. At first I started small, but I was wasting so much time cutting and belt sanding that I derided to size up my left thigh first, and then make the same changes to the right thigh. I don't have many "before" shots of my left thigh (save in my previous posts), but here's an "after" shot:


In total, I trimmed almost 3" off the top so that the pieces wouldn't gouge into my hip bones when I flexed my legs or leaned over. I simply aped the contour line of the original armor to the length I measured up the strip, cut with the Dremel cutting disk, and sanded using the sanding melt. I repeated this on the right, except I cut much more off in one go now that I had a good idea as to how much to remove:

Cut... cut more.. and more...

I may also trim down the back top of the thighs, once I get more fitting done.

I also knocked out the back of the knees on both thighs and shins while I was at it, as well as cleaning up some inside edges to avoid armor bite.

How do you cut curves with a Dremel cutting disk?
Carefully.

Also, I was the guy in the green running shirt and compression pants. HI!!!

I cut out the shoulder straps and buttons as well, finally. These were the last pieces to get cut out from the molds:

Before belt sanding... and after!

The squad recommends to glue reinforcement ABS strips on the the inside back of these pieces, as they're prone to snapping in half lengthwise. I'll perform this step at home.

After trimming the thighs, it was finally time to start adding straps. because I need the ab plate to dictate the position of my chest plate, I plan to star strapping from the bottom up. However, as I forgot to bring a regular standard screwdriver (my Leatherman notwithstanding) I screwed up my first split rivet (on my kidney plate, so easy to remove if it comes to that, thankfully), and almost my snap tool as well. I salvaged the snap tool but decided to leave the strapping for after the party, where I have plenty of screwdrivers and also metal taps. I was, however, able to fasten the two snaps in the cod piece, and made sure the cod strap would fasten, so there's that (sorry, forgot to get a picture).

That was it for the day. They were wrapping up the event when I left with a raffle for, ironically, helmet fan systems (see my previous post). All were included, and had I won, I probably would have given it to a needy trooper since I'm well on my way towards making my own. I was going to work even more on my armor last night after the kids went to bed, but due to the Daylight Saving Time change (and my kids not adjusting too fast too it), combined with the COLD THAT JUST WON'T DIE, I needed rest. Until the next session then...

Personal Touches: Helmet Fan System

Despite my business trip last week, I was able to get a small part of my armor project worked on, if not an optional part. I brought some parts and my soldering kit with me on my trip to do some work after I was done at the remote job site.

I decided to ape the Echo Fan system used by many TKs using parts of my own, on a budget. Echo Fans typically cost around $70, but I was able to pick up parts for a comparable fan system from Fry's (before my trip) for less than $25. Also before the trip, I used card stock to measure, fit, and trim (repeated several times) a strip that would serve as a template for the backing, to make the system easy to add and remove to the helmet.


For the backing itself, I used some spare vinyl sheeting that I had left over from a previous project. The vinyl wasn't long enough for the entire strip, so I traced it into to halves, to be butt jointed using a third, small strip and CA glue.


After trimming and assembling the vinyl, I broke out the electronic pieces and laid them all out to ensure that I had enough wire to spread everything out. I had two 2xAA battery boxes to be wired in series to generate 6V to run the 12V fans at half-speed. A micro slide switch would allow me to turn the fans on and off as I pleased. I also soldered some leads onto the batter boxes to twist parts together and ensure the design worked, and that I had my polarity correct.


After some experimentation, I decided to put the switch in between the battery boxes, from the positive terminal of on box to the negative terminal of the next box, ensuring that the circuit would be broken with the switch in the off position. I used integrated the quick interconnects that came with the fans to make any future replacement easier if/ when the fan bearings get shot.


Not having the Dremel tool to add the cut-outs to the vinyl for the fans or the switch (which will poke through the back where the electronics are to be mounted), this was all I could do for now. Now that I'm home, I'll fix a cold solder joint, be able to add those cut-outs, and mount the system. The stock by itself is so rigid that it can easily stay in the helmet through flexing tension, but I'll probably be adding H&L to bot the inside of the helmet and the fan system to keep everything in place. I'll cover this in a future entry.

Monday, March 7, 2016

Personal Touches: Forearms and Shins

I'm out of town for a week, but I did some work over the weekend on the armor, despite the armor party I was to attend being postponed a week due to inclement weather.

First, I decided to add the H&L tape to the back shin closures, since the shins are (thankfully) pretty much done. I had to wait until the kids went to bed, but the night was still young...

I love this clock.

The easiest way to measure the tape was to use the rear cover strip as a guide. Not only did I measure strip length, but also width.


Turns out that you only need half the width of the strip, so I was basically able to cut one length of tape for both the hook and loop sides, and then cut those lengths in half lengthwise down the center. Before that, though, I used the hook side to measure an equal length of loop side tape.


When finished, I had four lengths of half-width tape for use on both shins.


Attaching the tape was relatively easy, ensuring that the surfaces were clean first using spray cleaner and a paper towel. I started from the top and placed the tape with one hand while keeping it straight with the other.


The H&L system works pretty well for a basic closure. I may replace it with the bra hook system later, but for now it will do for getting me started :)

After the tape was in place, I used the Dremel sanding drum to fix the curves at the slightly offset bottom pieces of the shins. when the cover strip also needed adjustment, I pulled the end up ever so slightly to insert a putty knife, so that I could bevel the edges using the putty knife to guard the rest of the shin.


In prep for fitting, I also adjusted the neck of the chest piece to round the corners to keep the armor from poking me, and to keep it from digging into my neck.


In addition, after a discussion with UKSWrath about the forearm length interfering with my mobility, I decided to trim the end off my forearms a fraction of an inch. To do this, I used tape to mimic the contour of the existing forearm edge, then used the Dremel cutting disk to remove the edge. I had trepidation at first, but after noting the results, decided it was the right decision.


On Saturday night, I was trying on my TK Boots with my shin armor. TK Boots recommends the you line the bottom and edge of the shins with felt or soft material to reduce the amount of scuffing. I thought this was a capital idea, and gathered some spare white felt to line the inside of my shin pieces.


After taping in the felt and trying it out, I was decided. I removed the felt and tape, scuffed the inside of the shin pieces, applied E6000, placed the felt, and applied clamps & magnets. I left a little overage at the bottom of the shins so that I could later wrap a very slight amount over the edge to glue in place, then trim off the overhang.

I actually brought something for me to work on in regards to the armor while I'm on my business trip (after hours, of course), so I may have another update this week, before the armor party on Sunday. Until then...

Thursday, March 3, 2016

Self Starting Soft Supplies

Still no word on my ANOVOS soft goods. They're supposed to be shipping for my tier until 5 March. I'll be out of town on business next week, so I'll give them an extra week; if I haven't heard anything by the time I get back, then I'll make an inquiry (because I know their Customer Service dept. is bogged right now).

It's a good thing I bought my own goods then, so that I can at least get some fitting done for the armor party this weekend :)

OK, so I need to do some crunches...
And yes, that's one of our two cats. She liked running against my leggings.

As I mentioned yesterday, I bought some stuff from Amazon (the shopping list can be found there). But I'll break down my impressions here now that I have them in hand:
  • The Time to Run compression apparel is nice for the price point. I purchased a medium top and large bottom (for my big cycling legs). Everything was very snug but easily wearable. I ended up tucking the top into the bottom to keep it from sliding up my back when bending over (very easy since the waist band has no branding on it). I slipped some armor over it and it will be more than satisfactory. Brand labeling on it is minimal, and they'll easily be covered by the armor and neck seal.
  • The gloves (glove liners, actually) are a little bit sheer as they're 100% silk. Also, they snag on everything. I'll probably pick up a pair of Gorilla Grip Gloves at Home Depot as recommended by others on the ANOVOS FB group (they're less expensive than these glove liners too), but I'll keep these as liners for the rubber gloves ANOVOS will (eventually) be shipping me, for more comfortable "black tie" trooping when the rubber gloves will be necessary for screen accuracy.

The extra large helmet bag is great. It has a nice pull string connected at both ends to the bag, with a spring-loaded slider to keep the bag closed. I can throw the bag over my shoulder using the pull for easy carrying, especially when I'm pulling the armor cart behind me.

My boots should come in Thursday :D Really looking forward to trying them on to ensure they fit.

Yesterday, I also picked up $23 f electronics hardware to start working on a fan system for the helmet. I think I could ape the Echo Fan system myself with only a slight amount of work. But that's a story for another post. Until then...

Update 3 March 11am:


I got some new plunder... err, booty!

Wednesday, March 2, 2016

That Darn Sniper Knee, the Undersuit, and Them Boots!

Why no blogs lately? Well, I had a bug problem in my house, and it actually took a slight amount of destruction to root out the cause and eliminate their food source, between Sunday and Monday night, working until past midnight each night. Tuesday I finally got out of the house with my wife to see Deadpool (I loved it) and went to bed early, considering my past two nights. So I didn't get any building done.

BUT!

I've received more than a few requests regarding the sniper knee on the left shin - apparently I've become something of a shin-obi <RIMSHOT>. How does it go on? Why does it look better on the right shin? How can I secure it?

The simple answer is that you need some "gentle persuasion" (read: CLAMP THE HELL OUT OF IT) and at least three clamps (more won't hurt). You may also need to trim the right edge of the knee pad (as it's worn on the shin; that is, the side facing the body's center line).

Here are some pictures from a previous post, Sexy Knee and Shapely Thighs:


So here's the trick tot the sniper knee: according to the 501st CRLs (which are a good reference even if you're not going for approval) the knee plate should follow the contours of the shin piece and not use any rivets if possible.

The trick here is to measure twice, cut once (if necessary, and it probably will be on the aforementioned side), and glue in place. To measure properly, though, clamp the pad in place AS IF you were going to glue it. The reason why is that this piece is going to need flexing to get in place, which pushes the edges of the guard out. If there's any overhang, you'll want to ensure you cut off the correct amount instead of having to worry about it after the piece is glued in place.

Speaking of flexing, for the interior corners of the knee plate, round them out. DO NOT leave any sharp angles; they're very prone to forming cracks over time (especially since the piece will be flexed into place), meaning that at the least you'll probably have to repair them with ABS paste; at worst, you'll have to find a new knee plate.

You could also try a hot water bath to help shape the piece to proper fit; I've never done this, but I know that USKWrath has done so with some of his pieces.

Once you have the piece measured and cut, mark the places on the shin where the edges of the plate make contact. Then, scuff the points just short of those marks with sanding paper; also, scuff the top of the center strip at the knee. Scuff the interior of the knee plate at the same points. Put down some E6000 on the scuffed shin.

Then, clamp the edges, then center, of the knee pad in place. This will require some back-and-forth between clamps so that you can match the contour of the shin as best as possible while getting the center of the pad to make as much contact with the shin as possible. You'll probably have a gap on the bottom of the pad between the pad and shin, but try to keep it minimal (a small gap, BTW, is screen accurate :P)


Update: here's a method used by Josh Silverback Hopkins using 7 (!) clamps. Note how he also uses a clamp to keep the shin closed while cementing the knee plate, in order to make the job easier. Two clamps on each side of the center of the plate, and two on each edge.


The results are fantastic.


Sniper knee aside...

With me getting ready for fitting, and my Anovos soft parts not yet shipped, I decided to take it upon myself to get something that would pass for an undersuit.

I tried a few department stores (Costco, Target, WalMart), but nobody had any long-sleeved compression shirts in stock anymore as they're getting ready for spring and have limited shelf space. I ran out of time to get to a sporting goods store before needing to pick up my son, although a place like Dick's Sporting Goods would almost certainly have what I needed.

Therefore, I was resolved to find something online as to not waste more time pecking and pawing through brick & mortar stores. I asked the Anovos FB Group for advice, and received several recommendations, including the Russel Training Fit compression shirt (Walmart Supercenter), BCG compression pants (Academy Sports), and a FlexFit compression set (Kohl's). However, since I was cycling to work Wednesday and Thursday, going out to a store wasn't really in the cards for me, hence the online shopping, although having some brands in mind was good, and worth mentioning here to anyone also looking for solutions for a spare undersuit.

There are a lot of Under Armor fans out there. It's a little more pricey, but its advocates swear by its sturdiness. From my POV, though, understand that I need to spend money on home repair, I had to drop over $100 on TK Boots, and I'd still like to pick up some parts for my Disney Parks E-11 blaster that will need to come from England (~$40). Right now, I just need a suit that will do for fitting and light trooping, so I'll consider Under Armor later, especially if it's on sale :)

Ultimately, I went with something inexpensive but with good Amazon reviews: Time to Run Men's Compression Wicking Running Top and Time to Run Men's Compression Tights. Certainly not as fancy as Under Armor, but it will get the job done for now and isn't terribly expensive. They're also on Amazon Prime as my wife and I are members. Also on Prime were Alaska Bear Natural Silk Thermal Glove Liners and a Vega Vega Logo Soft Cloth Helmet Bag, which I also picked up. Previously, I also picked up this Sterilite 40 gallon container at Target for less than $20 for armor transport - it should fit everything short of the helmet, or at least that's my hope :P

Finally, I paid for my TK Boots last night and received shipping confirmation. I'm looking forward to seeing them and trying them on :D