I hadn't unpacked my armor or tools since coming back from the armor party on Sunday. After getting my work space prepped again, I started tearing stuff out. Noticing that the H&L on one of my shins doesn't like to stay in place; may have to E-6000 that stuff later.
Edit: DO NOT trim thighs for length until the end of your build. Mistakes were made. Consider the following a cautionary tale.
For now, I'm looking at the thighs (again) and a conversation I had on FB with a fellow builder. Last time I touched the thighs I heavily trimmed the front down. Here's what they look like coming out of the armor party, both being trimmed in the front:

Mind you, I'm not messing with the inseam, which seems to be fine for me, but rather the peaks on the fronts and backs of the thighs where the shells come together. I realize that they are poking me in the... posterior.
So I decided to take off the first inch or so for about 11" in length in the rear (the front for bother pieces is about 13.5" for me).

Before...

... and after.
The belt sander would have been nice, but I was able to do the sanding with the Dremel sanding drum and the sanding block after cutting with the Dremel cutting disk.
Since I was on the subject of the thighs, and wanting to handle split rivets in a proper fashion, I decided to put on the right thigh ammo pouches, which attach near the knee. Using UKSWrath's guide, I found placement not too difficult, although liking symmetry, decided to center the center pouch on the thigh's front strip.
First I drilled the holes on the pouch at the indents provided on the piece. I placed scrap wood underneath as to not drill into my work table. This would also come in handy later for setting the split rivets.

Once the holes were drilled, I used the piece to help determine where to drill the holes in the thigh piece, with that center pouch lined up just so.

After measuring more than a few times, it was time to drill holes in the thigh. I decided to do this one hole at a time, wherein I would drill the first hole, mount and rivet that side of the pouch, and then repeat on the other side, to ensure a good fit. After a gut check, I drilled.
With the first hole drilled, I took to setting the split rivets, using three primary tools - a standard screwdriver to split the rivets, a metal tap to flatten the splits, and a plastic mallet to prevent damage to the two aforementioned tools.

The sanding block was there for moral support.
Splitting the rivets on the already-assembled thigh piece was challenging, and probably not a great place for someone with less experience to start. But I've had plenty of experience with leather work, rivets, and snaps, so having the right tolls (unlike at the armor party), I set off with care.


Getting the screwdriver in the area was trick, but I was able to get just enough of a split to start working with the tap. The trick with the tap was to turn the rivet after ever few strikes in order to ensure that both sides of the rivet were being tapped down as equally as possible. A pair of needle-nose pliers helped rotate the rivets since the ends can by point for fingers. After some work, it was pretty.

I repeated the process on the other side after again measuring placement and drilling the other hole. Once finished, the ammo pouch was done.

Since I was on the subject of split rivets, it was time again to revisit the kidney plate. I mangled one of the split rivets when I tried to start the strapping at the armor party. THANKFULLY, ANOVOS gives you extra rivets, in case you screw up one or two of them (like yours truly). So without reservation, I carefully cut off the mangled rviet without hurting the kidney plate or strap.
The kidney plate has three straps, although the top strap doesn't look like the one depicted in the instructions (but the odd strap is the only one that doesn't match any other straps, so I was able to deduce its purpose).

These straps require you to place a hole in them, a tricky prospect without fraying the fabric in the process. The best way to do this, I found, is to use something that will sear the hole and minimize fraying. So I made the holes with a soldering iron.

With the soldering iron, I had to be quick to ensure I didn't make the holes too large - larger than the rivets for easy of installation, but smaller than the washers. But the iron made quick work, once I figured the location of the hole for each strap. I unplugged the iron and set it aside as to keep it far away from my impending kidney plate.
Using the drill gun as a support, and the scrap wood underneath as for the thigh rivets, I easily placed three split rivets through the kidney plate and each strap.
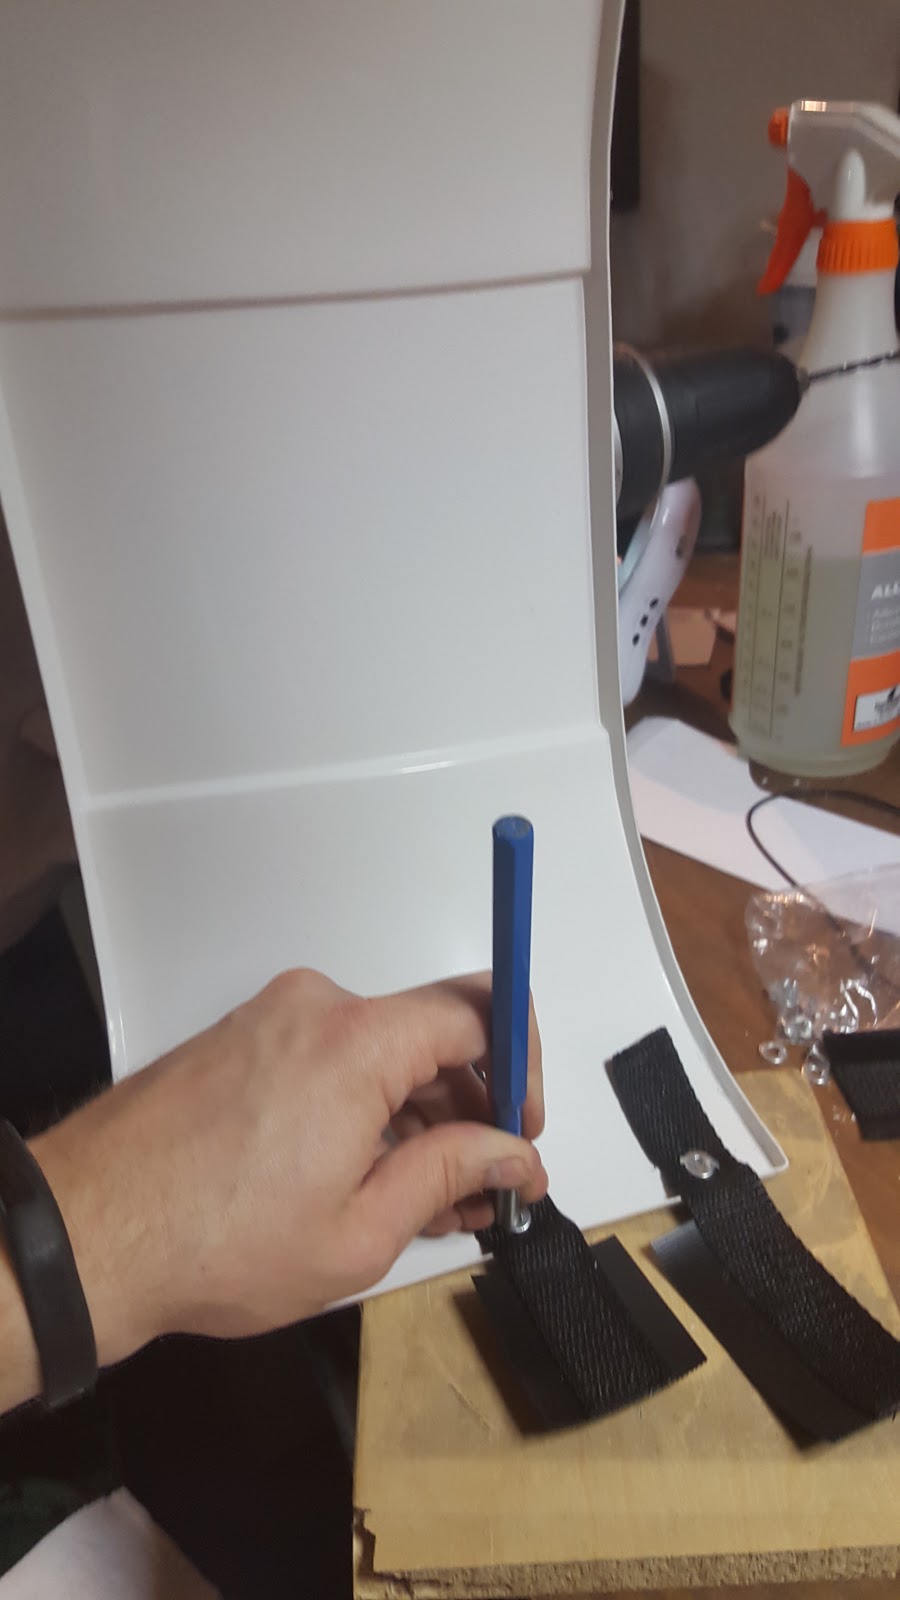

Note that I'm placing the straps close as I plan to have no gap between the ab and kidney plates, which fits me just fine and is required for 501st Centurion anyhow.
Having made enough noise in the garage, I left the last split rivet (in the butt plate) and other strapping for another evening. Until then...
No comments:
Post a Comment