
After getting all the other items taken care of, it was time to finish the helmet fans I had started a month ago while working abroad. All the pieces were there, but I had to re-solder all the joints to fix a cold solder joint (it ended up being a lead from one of the battery boxes).
Before I started fastening the wiring and fans in place, I used two 40mm x 40mm pieces of screen (leftover material from a screen window kit) over the fan holes, to protect my face from the fans during operation. These were fastened in place with low temp hot glue. The fans themselves are 30mm x 30mm, leaving area for the screens' hot glue without interfering with getting the fans flush with the blank.

I started by gluing the battery boxes with low temp hot glue on either side at a correct width such that they'd fit inside the respirator areas at the bottom of either side of the helmet (in-universe schematics for the helmet can be viewed here :D). I had to do and redo this a couple of times to ensure that the wires had enough slack to bend when the blank was curved to fit into the helmet. It made some of the PlastiDip pop off of the blank, but this is the side that will be hidden, so it hasn't a big deal so long as the pieces stayed in place when the glue cooled. I then fixed the switch into the blank with twisted and trimmed silver wire, and reinforced with low temp hot glue.

Finally, I added some cable keepers to the back for cable management. Cables were secured using more twisted and trimmed silver wire. The screws that came with the fan were meant to go through the fans' mounting holes and into the material, so I had to use replacement screws that went through the blank and secured into the fans' mounting holes (fortunately I've built more than a few desktop PCs and have plenty of spare mounting screws).
When finished, the business side looked like this:

Here's the side the will face towards the inside of the helmet:

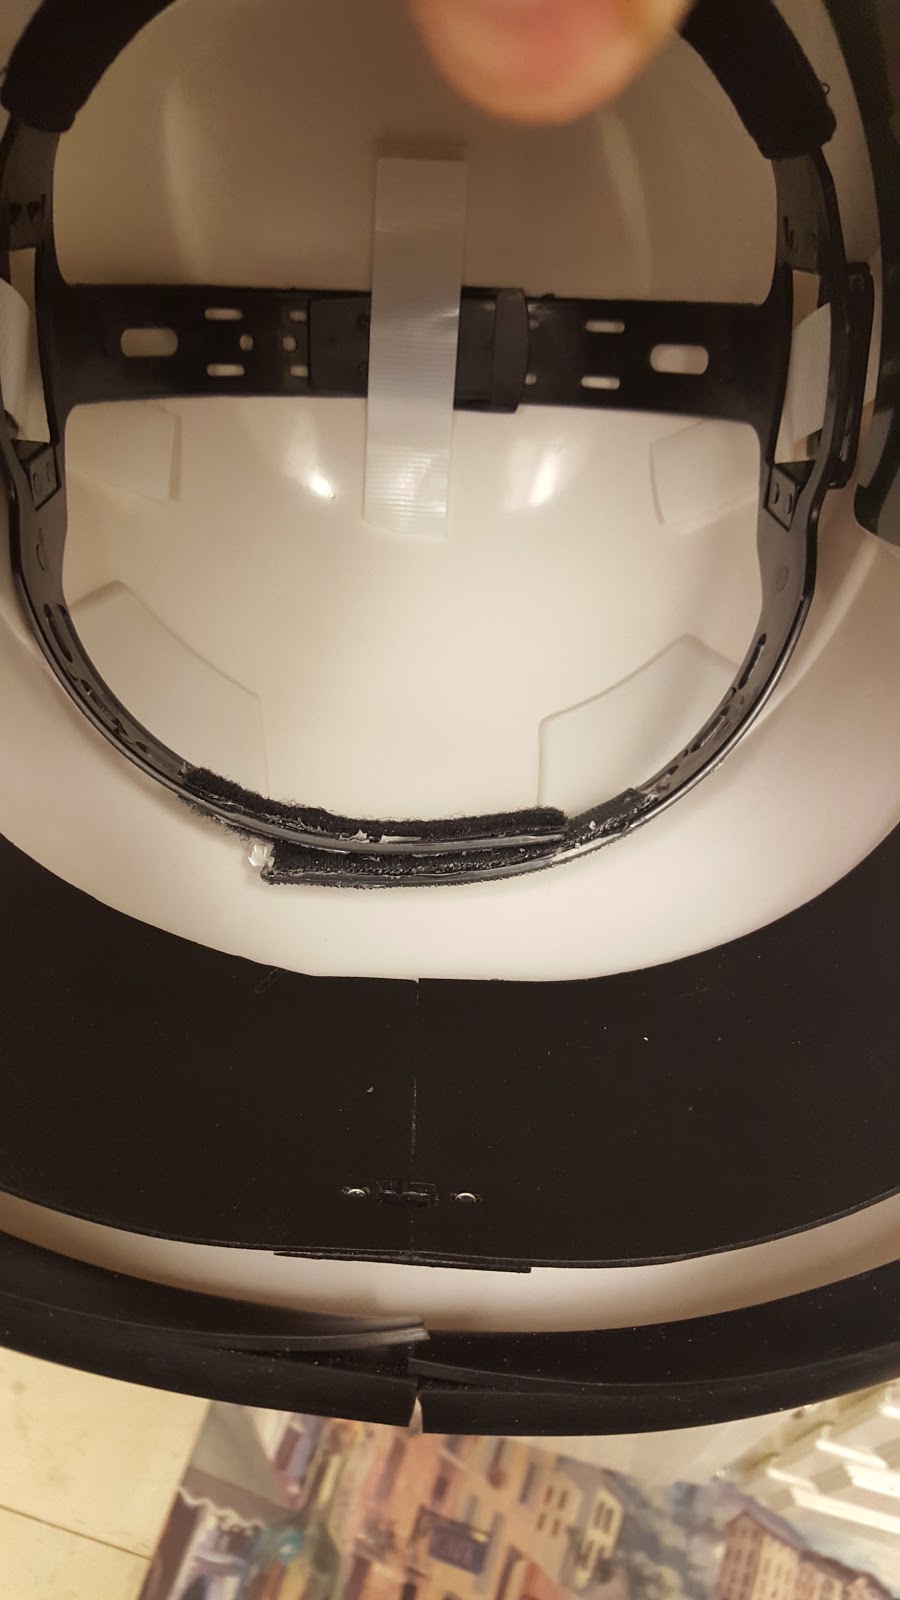
When mounted in the helmet, the fans sit behind the inductor filters (where the Hovi mic tips are mounted).

The back center of the helmet has the switch that turns both fans on and off.
Overall, the fans are a little noisier than I expected. Like the Echo fans, I may add foam to contact points on the blank to reduce vibration of the fans against the helmet and therefore reduce noise. I'll have to do some initial testing to see how well this will work and find optimal placement of the foam. I could also replace the digital switch with a slide switch to control fan speed and noise.
I plan to PlastiDip the inside of the helmet, but not until I have 501st approval, so I have one less thing to worry about if approval doesn't go smoothly and I need to fix or replace something. I'll cover my submission on the next blog!
No comments:
Post a Comment