To begin, I found scrap ABS strips of the appropriate length and width (> 1"). However, to get more width, I decided to use a hot water bath to flatten them out. I did this using a pot of boiling water and two cutting boards to act as presses. The pieces ended coming out a little curved, which is fine since the back of my thighs (where the pieces will be going) are also curved; the pieces are also flexible, so getting them in place should be a big deal.

I also made some ABS hooks for my bicep pieces (should I need them) while I was at it, to add to the biceps to hook the shoulder bell straps as many troopers do. It was simple enough to add the hooks using a hot water bath, small tongs, and my Gorilla Grip gloves.

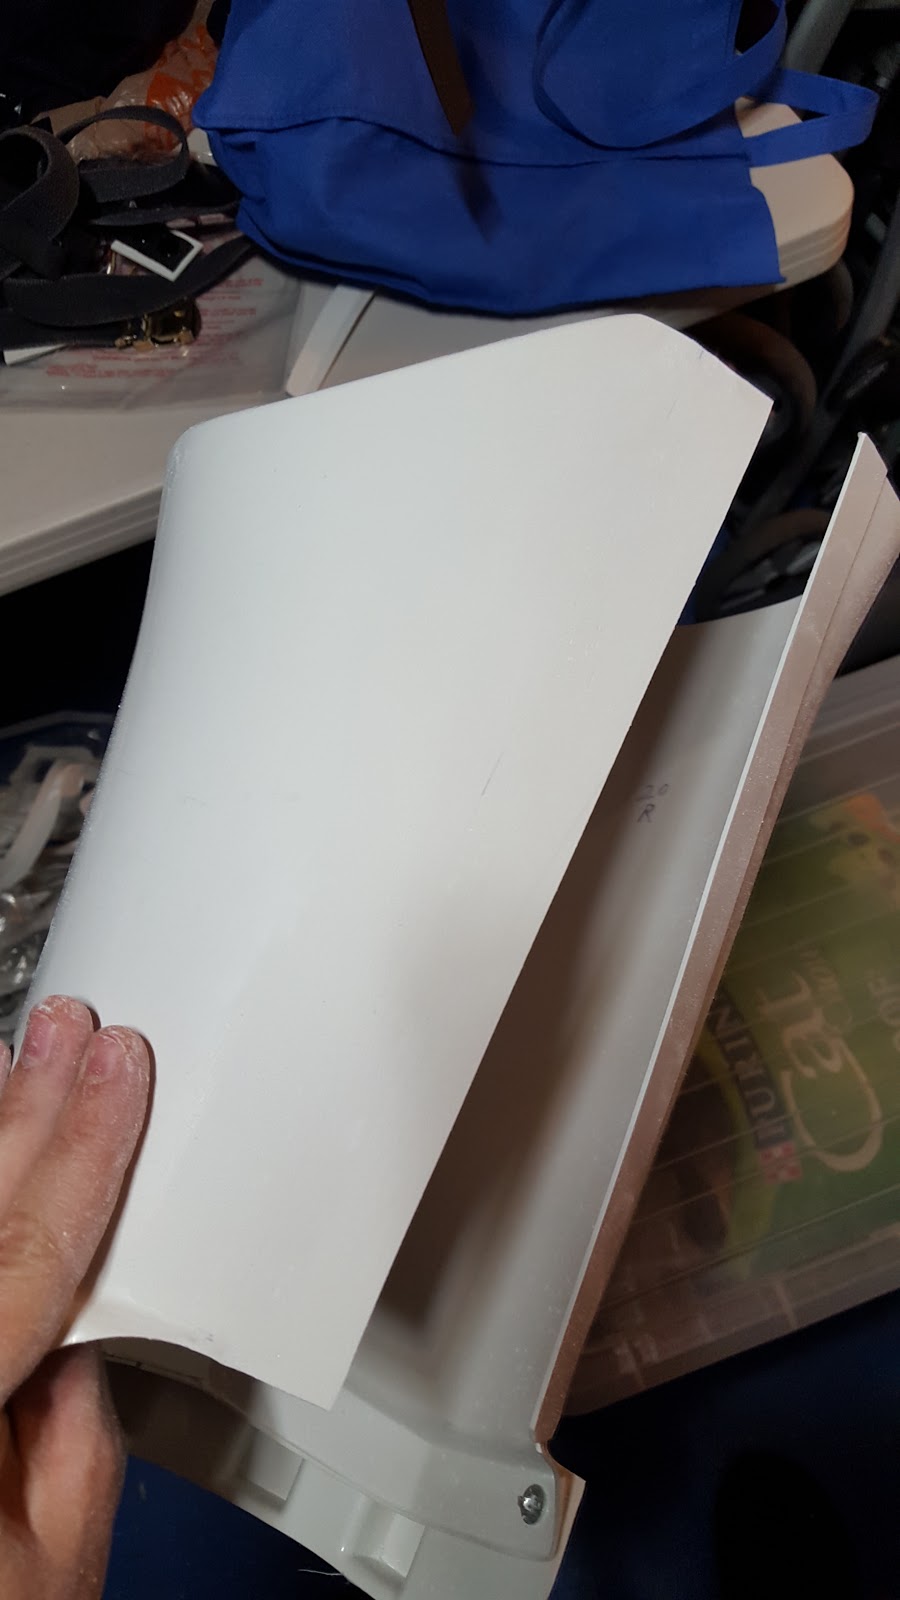
I separated the thighs in the back, with the center strip attached to the outside piece; teh shims will be added to the inner thigh piece. After creating the shims, I cut them to a rough length and taped them in. I found that, with the shims at full width, they made the pieces too big, which is a good thing - it's easy to trim down the shims, but harder to find bigger pieces to use as shims if they're too small. I performed additional measuring and fitting without the shims to determine the best width. I trimmed them to 1" width top and bottom, making sure both edges were straight. I may trim more near the bottom after I get the shims permanently attached, when it will be easier to do more test fitting.

With the shims ready, I created six splints, three for each thigh for top, bottom, and center. The splits would hold the shim in place while I used ABS paste to cement them to the inner thigh pieces. Because this will be a permanent fixture, I used CA glue to cement the splints to the inner thigh pieces, and then the shims.

I then used ABS paste to attach the shims to the armor. In retrospect, I wish I had used some CA gel first, and then ABS paste - you'll see why in a moment. Also, when applying ABS paste to shims, I recommend applying it with your fingers using a latex glove, to reduce the lumpiness of the paste. I did NOT do this on my first application, and the outcome was a bit gloppy, requiring a lot of sanding to be flush.
Speaking of sanding, after the paste was dry, I hit large lumps with the Dremel sanding drum, then used a sanding block with 150 grit. I wish I had some lower grit paper, because this step took longer at 150 grit. However, once everything was flat, I followed up with 350 grit, 600 grit, and then 600 grit wet sanding to make everything as smooth as possible before polishing.


For polishing, I used Novos 3, then NBovos 2, to work out the deeper scratches and then polish up. I found that, for scratches that wouldn't come out with Novos 3, additional wet sanding with the 600 grit paper was necessary. The shims came out alright after this was all said and done.


Once finished, and after taping up again to confirm fit one last time, I cemented the back of the thighs back together with E6000.
But as is the case with many of my projects, this part did not go off without a hitch. lamentably, when I was getting the pieces back together, the shims cracked near the knees. This is why I wish I'd used CA gel to fasten them to the parent piece before applying ABS paste.

I let the E6000 cure first. Then, I fixed the cracks by first applying CA liquid (to get into the crack) and holding the pieces in place until the glue set. Then, I covered the crack with an amount of ABS paste applied by finger for minimal coating. Once it dried, I was forced to apply the entire sanding and polishing process all over again.

After this, the shims were done for the most part; however, there are some visible lines on the shims that I may need to address before approval. However, I still need to apply the strapping system to the thighs, as well as fix the shape on the top. I'll be covering this in a future post.
Speaking of sanding, after the paste was dry, I hit large lumps with the Dremel sanding drum, then used a sanding block with 150 grit. I wish I had some lower grit paper, because this step took longer at 150 grit. However, once everything was flat, I followed up with 350 grit, 600 grit, and then 600 grit wet sanding to make everything as smooth as possible before polishing.

For polishing, I used Novos 3, then NBovos 2, to work out the deeper scratches and then polish up. I found that, for scratches that wouldn't come out with Novos 3, additional wet sanding with the 600 grit paper was necessary. The shims came out alright after this was all said and done.


But as is the case with many of my projects, this part did not go off without a hitch. lamentably, when I was getting the pieces back together, the shims cracked near the knees. This is why I wish I'd used CA gel to fasten them to the parent piece before applying ABS paste.

I let the E6000 cure first. Then, I fixed the cracks by first applying CA liquid (to get into the crack) and holding the pieces in place until the glue set. Then, I covered the crack with an amount of ABS paste applied by finger for minimal coating. Once it dried, I was forced to apply the entire sanding and polishing process all over again.

After this, the shims were done for the most part; however, there are some visible lines on the shims that I may need to address before approval. However, I still need to apply the strapping system to the thighs, as well as fix the shape on the top. I'll be covering this in a future post.
No comments:
Post a Comment